Showing posts with label foth. Show all posts

Wednesday, 13 April 2011

Project: Foth 6x9 Pinhole Part 5

Part 1
Part 2
Part 3
Part 4

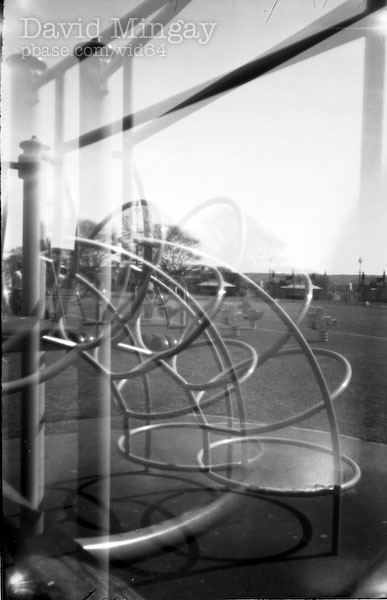
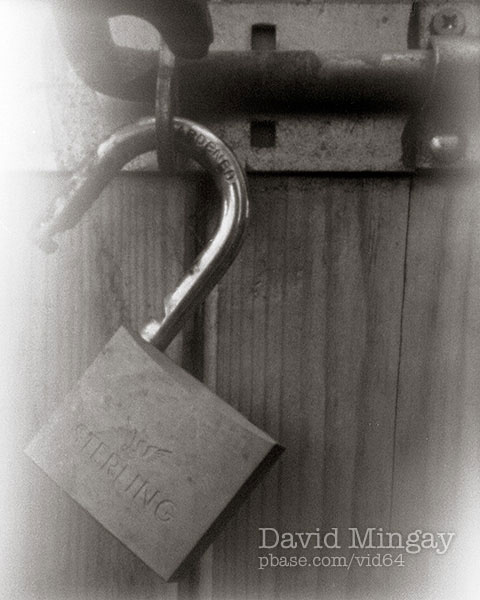
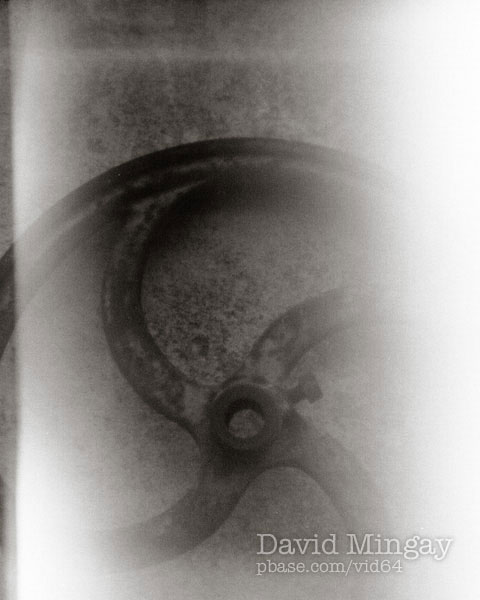
It's been a while, but the story continues... Armed with a roll of HP5, it was time to test the re engineered Foth 6x9 Pinhole. It was a nice sunny day, the meter suggested 1/2 at iso 400 with the f250 pinhole so off I went to Freedom Fields Park. The 'automatic' 1/2 and 1 second speeds on the Prontor shutter were used throughout, so easy to use, and I'm calling the test a success. But I'd forgotten why the shutter was in the parts bin. It opens the blades briefly when cocking the shutter. Not a problem with pinhole photography or so I thought, and it wouldn't have been on a dull day or with slower film. Unfortunately, in bright light and with HP5, it's just enough to create ghost images and flare. I must remember to hold my finger over the pinhole when cocking the shutter. Here are the results. It's not art, but it is pictures!


Saturday, 12 February 2011

Project: Foth 6x9 Pinhole Part 4

Clamping the bellows while the adhesive dries
If I'm honest, my original conversion of the Foth 6x9 was a bit of a crude lash up. A somewhat half-arsed cardboard and tape hack. A quick "I wonder if this'll work" job. So I decided to do it properly this time. Gluing the bellows back in place was the first task. Unibond "Repair Extreme Power Glue" seemed to have the qualities I was looking for. Sticks amongst other things leather and metal. According to the pack it's "A super flexible multi purpose adhesive with new FLEXTEC™ patented technology" . "Transparent and odourless" too. Ideal. Glued and clamped in place with a few colourful crocodile clips I left it overnight.

New aluminium focus stop
Next job, a better lens stop. The first attempt from cardboard didn't work too well. (And while I'm about it, a new name for that part as this is a pinhole camera. I'm going to call it the "focus stop".) I made the new focus stop from from a small piece of aluminium right angle section, cut down and shaped to lock the lens pinhole standard in place. I attached it with a small dab hot-glue. Strong enough, but removable if necessary. Now the lens pinhole standard locks into place with a satisfying precise click. Perfect.

What else? I'd used a piece of black card inside the bellows for the shutter retaining screw to tighten down onto. Hmmm, I'm not sure what that's piece is called, so I'm naming it the "shutter backing plate". I wasn't happy with the card one. I wanted a proper steel shutter backing plate in there. Would you believe it, a fan belt pulley shim for a vintage VW is exactly the right size to fit over the shutter. And of course I had one handy! Cut down to fit inside the bellows and spray painted matt black. While I had the paint out I also blacked out the back of the shutter mounting and the inside of the camera back that had a lot of paint missing. It's all matt black in there now. Proper job.

So that's it, the Foth 6x9 f250 Pinhole Evo 2 is ready for a test run. Watch out for the results in part 5!

Tuesday, 8 February 2011

Project: Foth 6x9 Pinhole Part 3

Yesterday I managed to find half an hour to run a film through the Foth pinhole. In fact two films. The first roll jammed and ripped the backing paper. Roll 2 was more successful, but has raised a couple of issues. Firstly, the cardboard lens stop doesn't work. The whole front standard tends to pull back into the camera with the slightest touch. A gust of wind or even the action of the cable release. I need to work on that, a new part will be made of aluminium, and will lock the lens standard in place. Secondly, having developed the film, it's clear that I have some major light leaks. I'm pretty certain the bellows are light tight, but closer examination shows they're not fixed securely to the camera! It looks as it the glue the factory used 85 years ago has failed. On the plus side, from what I can see of the image, the pinhole is a goodun. So I have a bit of work to do to on the Foth pinhole.In the meantime, here's a couple of pic from the first film:
50 second exposures on Ilford HP5+ with a lot of fogging due to those light leaks. Developed, 11 minutes in Rodinal 1+50 at 20°

Saturday, 5 February 2011

Project: Foth 6x9 Pinhole Part 2

Well, that didn't take long. yesterday I said that the foth conversion would be simple. It turned out easier than I thought. The camera is now an f250 pinhole with a 75mm focal length and an a Prontor-S shutter. Here’s how it went.

Shutter.
The original Foth dial-set shutter worked on the T and B settings I needed. But as it it only worked by first running the self timer, I decided to swap it out for a much later Prontor-S. It was just lying around waiting for a project. (This shutter also has a fault but not one that will cause me any problems: The blades briefly open as you move the cocking lever. But in a pinhole camera, an extra 1/100 second exposure won’t make the slightest difference) It has no T setting but the Prontor has B as well as 1 and 1/2 second exposures, which will be useful on sunny days. The speeds from 1/5 to 1/300 won’t be used!! Installing the shutter just a matter of unscrewing the original and installing the new one in its place.

Pinhole.
The Prontor was from a 1950’s Agfa Isolette 6x6 folder so was equipped with the usual three element Apotar 85mm f4.5 lens.  This had to come out to make way for the pinhole. Two elements unscrew from the front and one from the back. I’d already made a 0.3mm pinhole from an old beer can, and that’s goes in front of the shutter, held in place by the retaining rings that originally held the rear element. Easy.

Lens stop
The bellows make it easy to set the focal length to whatever you want. Hey, a zoom pinhole! Pretty cool, but exposure calculations would get complicated. So I need to set a stop on the bellows rails to get consistent results. I like my pinholes with a focal length of about half the frame diagonal. That gives a nice wide angle of view, similar to a 24mm lens on a 35mm camera. So on 6x9, I’d aim for around 50mm. On this old folder, with a view that wide, the lens door would get into the picture every time. 75mm is about as short as I can go, a compromise but without sawing the end off the door, what else could I do? Still wide angle, like a 30mm lens on a 35mm camera.  I taped piece of black card on the rail as a stop. At 75mm my 0.3mm pinhole works out at f250. Sunny f16 exposure works out at 1/2 second with iso400 film. Glad I fitted the Prontor!

Black tape
That’s pretty much it except for some black tape. There’s a bit of corrosion on the film gate, so I taped over that to prevent scratched film. Some more tape covers some missing paint on the pressure plate and made a little cover for the red window, yep, with more black tape. To prevent light leaks, after I load film, I’ll tape up the the body joints.

Film
I’ve a roll of HP5+ ready to go and as soon the weather improves, we’ll see what the Foth 6x9 pinhole will do.


Friday, 4 February 2011

Project: Foth 6x9 Pinhole Part 1

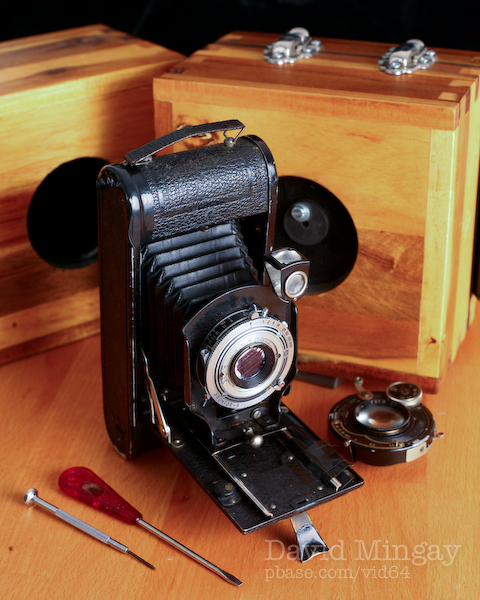
I've wanted a 6x9 format pinhole camera for a while. Giving 8 big frames on a roll of 120, easy loading / unloading and developing in a standard tank are features that really appeal. It sounds like the perfect pinhole format. So into my possession comes a 1920's Foth 6x9 folder. Berlin based C F Foth & Co made cameras from 1926 until 1943. This one has been in the family for decades, but no one knows who's it was or when it was last used. It's all there, but a little rough. The shutter fires, but only if you first run the self timer and even then only at 1/100 T or B. The leather is worn, paint is missing. The lens standard is bent. On the plus side the bellows look good. Like a lot of cameras of its age, it even has little a built in support leg, perfect for long exposures without a tripod!
This then will become the basis of my next pinhole camera. The shutter / lens unit will come out, to be replaced with an almost working Prontor-S which will give some useful 'slow' speeds for bright days, plus B for darker days. the Agfa Apotar lens in the Prontor will make way for a home made pinhole shim. I'll fit a shorter 'wide angle' stop for the lens standard and that'll be it. The great thing is that it'll all be undo-able. Some time down the road I can get the Doffel-Anastigmat lens / Iberzit shutter fixed up, straighten the lens standard and see what a 1920s lensed 6x9 can do!